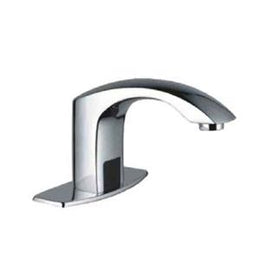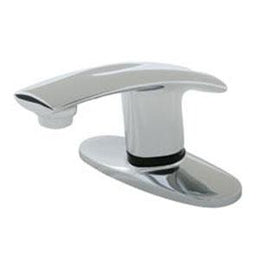


Verona Auto Faucet with Surround Sensor Technology - 500554
Product Type : Touchless Restroom
Vendor : Touchless Restroom
SKU : HDM-TC-AF-VERONA-SST
PRODUCT OVERVIEW
The Verona AutoFaucet conserves resources, reduces costs and promotes health and wellness. It is the best washroom faucet system you can buy. Equipped with our breakthrough Surround Sensor Technology, AutoFaucet delivers water only when needed, which results in water savings of up to 70 percent. The touch-free design creates a first-class patron experience while helping prevent the spread of germs. With industry-leading reliability, user-friendly performance, simple installation and cost effective operation, AutoFaucet is yet another innovative hygiene solution.Surround Sensors� continuously scan the� detection zone around the spout. 2) When the users hands come into range of the sensors detection zone, the valve is activated. 3) After the user removes their hands, the valve closes. The circuit automatically resets for the next user.
Benefits
World-Class Reliability Our patented cam-gear technology controls water flow. By eliminating solenoid valves, which fail, we ensure trouble-free operation. Environmentally Efficient and Cost Effective AutoFaucet can reduce water usage by up to 70 percent, which conserves precious resources and reduces cost. Easy Installation All components are included and installation takes less than 10 minutes. Available with AC Power or Battery Power Longest Battery life in the industry (3 years). User-Friendly Performance Surround Sensor Technology creates an omni-directional sensing zone guaranteeing activation every time. Optional Thermostatic Mixing Valve Guarantees that water temperature remains in the desired range. Promotes Health and Wellness Recent studies indicate that public washroom users are 50 percent more likely to wash their hands in a touch-free washroom.